How to Render in SketchUp: Plugins, Real-Time, and AI Compared
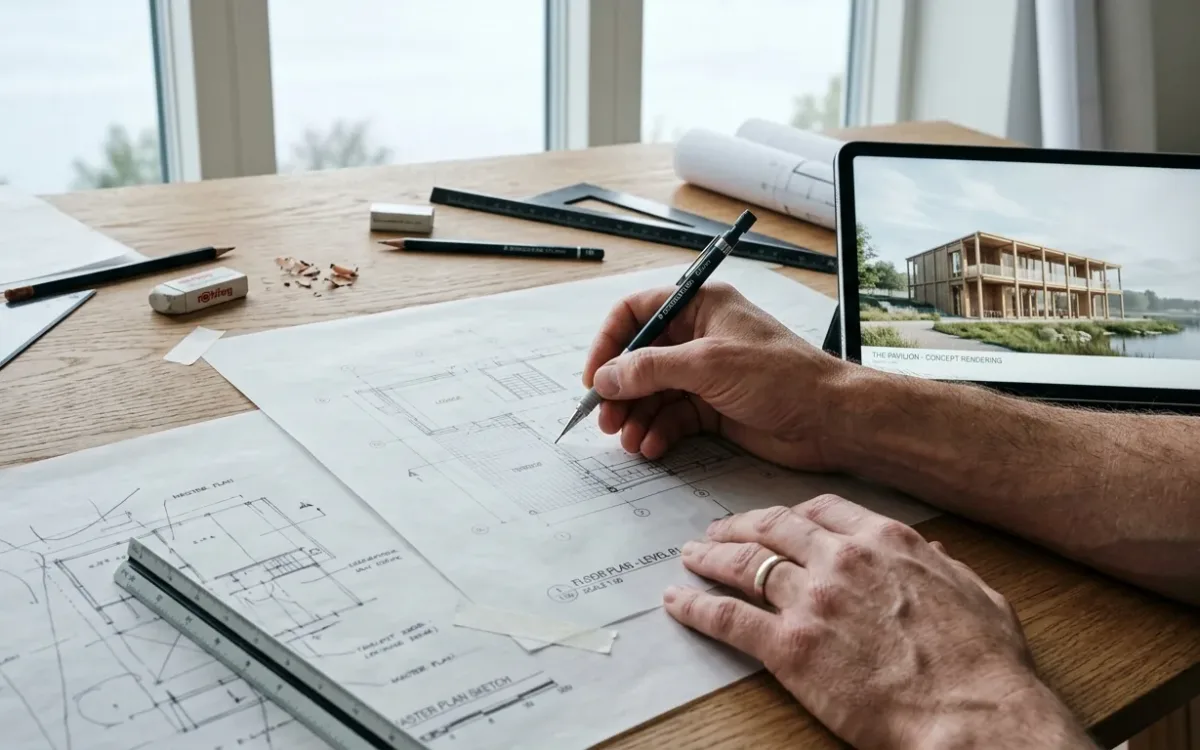
SketchUp does not render photorealistically out of the box, and that single fact launches a thousand forum threads. It is a design decision, not a defect: the native styles are diagrammatic because SketchUp is a modeler. So the real question behind "SketchUp how to render" is what you attach to it. There are 3 real paths: a render plugin inside SketchUp, a real-time engine beside it, or an AI renderer that works from a screenshot. Here is how to render in SketchUp on each, with honest numbers.
First: what SketchUp gives you natively
Styles, shadows, fog, section cuts. For massing studies, design development and drawing-like exports this is genuinely fine, and plenty of strong presentations use styled SketchUp output deliberately.
What it cannot do is photorealism. No global illumination, no physical materials, no real vegetation. The moment a client asks "what will it actually look like", native output stops being an answer.
The cost nobody puts on the comparison page
One thing decides which of the 3 paths is yours, and it is not image quality. Paths 1 and 2 reconstruct reality from zero: every material, every light, every tree specified before the computer has anything to photograph. That is not overhead, it is the method. But you pay all of it before you see anything.
The reconstruction tax is everything you pay before the first good image exists: materials, lighting, entourage, hardware and the months of learning, none of which is your design.
The stack is not a scam, it is the honest price of reconstruction. The question is whether you, an architect and not a visualization specialist, need to reconstruct at all.
Path 1: how to render in SketchUp with a plugin
V-Ray for SketchUp is the reference, Enscape and Podium the popular alternatives. The plugin lives in your SketchUp workflow, reads your model directly, and produces anything from decent to world-class. At the top end this path is art, and nothing below argues against it.
What the datasheets skip is the tax. Materials must be set up. Lighting must be designed. Entourage comes from asset libraries you license separately. The learning curve runs weeks to months before your output stops looking like a default render. A laptop that runs SketchUp fine can crawl once a render engine pulls. The complaint, in the audience's own words: "VRAM, RAM, laggy models, weak laptop."
Choose this path if rendering is becoming part of your job description and you want maximum control inside one tool.
Path 2: how to render in SketchUp with a real-time engine beside it
Lumion, Twinmotion and D5 Render sync live with SketchUp. You keep modeling, the engine keeps an updated, lit, populated scene next door. Iteration is fast, walkthroughs are possible, and the shipped asset libraries pay down part of the tax rather than all of it.
The honest costs: a serious GPU is mandatory, the engine is a second program to learn, licenses run from free tiers to four figures, and your model has to be reasonably clean for the sync to stay pleasant. Output is good and fast, usually a notch below tuned offline rendering.
Choose this path if your practice presents walkthroughs, or needs many decent images per project, every week.
Path 3: how to render in SketchUp from a screenshot, using AI
The newest path, with a fundamentally different prerequisite list. Screenshot your SketchUp viewport, upload it, choose style, lighting, season and environment, and a photorealistic image comes back in about 30 seconds. No materials to assign, no lights to place, no asset library, no GPU. The model was trained on photography, so realism arrives from the model, not from scene preparation. That is the reconstruction tax going to roughly zero.
I build SecondRender, one of the tools in this category, so weigh that as you read. My first customers came from V-Ray-class workflows: hours per render, days or weeks on materials, lights and shadows. The word they used was "stunned", and it was about what a render now costs to attempt.
The workflow is this short: screenshot in, photorealistic render out, iterate by changing presets instead of rebuilding the scene. It also works from earlier representations, including the hand sketch you drew before the SketchUp file existed (sketch to render, step by step).
The category's real limitation, stated plainly: generative models introduce variation. The same screenshot can render slightly differently between runs, and carrying one design detail for detail into another perspective is still hard for every AI tool, mine included. Fidelity mode (the source stays authoritative, geometry and physical materials are preserved, and a style transfers rendering quality only) and reusable styles narrow this considerably. They do not erase it. For a 12-view, pixel-consistent delivery set, use path 1 or path 2.
This path is not built for visualization specialists producing hero images, and it does not do their job. It is for the architect whose alternative was never a studio render. It was no render at all.
Choose this path if you want board-ready images during design, from whatever state your model is in, on any laptop.
The decision in one table
| Plugin (V-Ray, Podium) | Real-time (Lumion, D5, Twinmotion) | AI (screenshot-based) | |
|---|---|---|---|
| Setup before first good image | Weeks to months | Days to weeks | Minutes |
| Per image | Hours | Minutes | About 30 seconds |
| Hardware | Strong GPU | Strong GPU | Any laptop |
| Model preparation | Full materials + lighting | Clean model required | A viewport screenshot |
| Ceiling | Highest | High | High for stills, weak for multi-view consistency |
Which render are you actually making
Before you pick a row, answer the question the table cannot: what is this image for.
Most arguments about rendering compare two different products as if they were one. Nobody is wrong to love the two-week atmospheric shot. An architect named the tension exactly: "we all love spending weeks on a single atmospheric shot, but the real market often demands something else: Speed."
A portfolio render is built to be admired, and its deadline is soft. A communication render exists to move one decision, and its deadline is the meeting.
Almost everything an architect needs is the second kind. The massing option the client reacts to on Thursday. The view that tells you the corner does not work. Judging those by portfolio standards is how architects pay reconstruction-tax prices for images whose whole life is one meeting.
What I would actually do
If a deadline is near and your SketchUp model has to look real by Thursday: take the screenshot and test the AI path first. Not because it is the best of the 3, but because it is the cheapest question to ask. 2 minutes.
If 2 minutes does not solve it, you have learned more than any comparison table can tell you. You now know which kind of control you are missing, and you can invest in path 1 or path 2 with open eyes. The full economics of all 3 families are in the complete guide to architectural rendering.
One caution about the order. Do not start by learning a render engine because rendering feels like something an architect should be able to do. Start by naming the image you owe someone, and the date. The path follows from that, every time.
If you would rather watch it driven by someone who knows the controls, book a free 30-minute demo. I will render one of your SketchUp screenshots live and answer every question.